Creating a New Sequence
Navigate to Sequences
Go to Sequences in your dashboard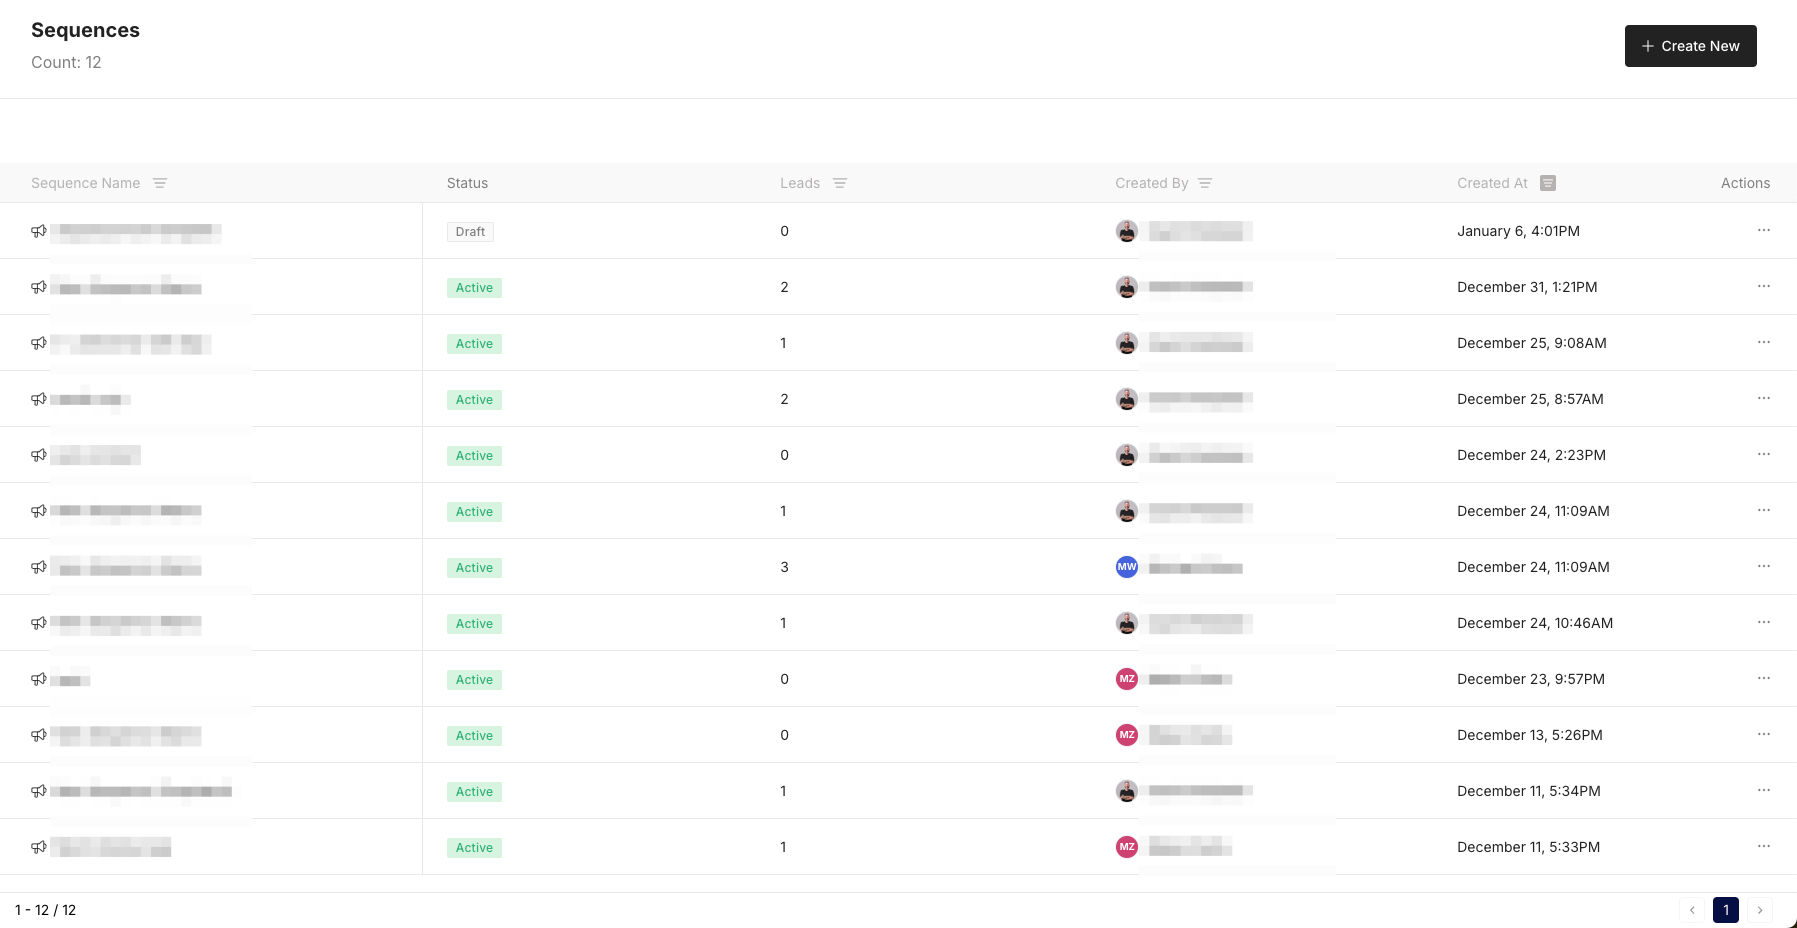


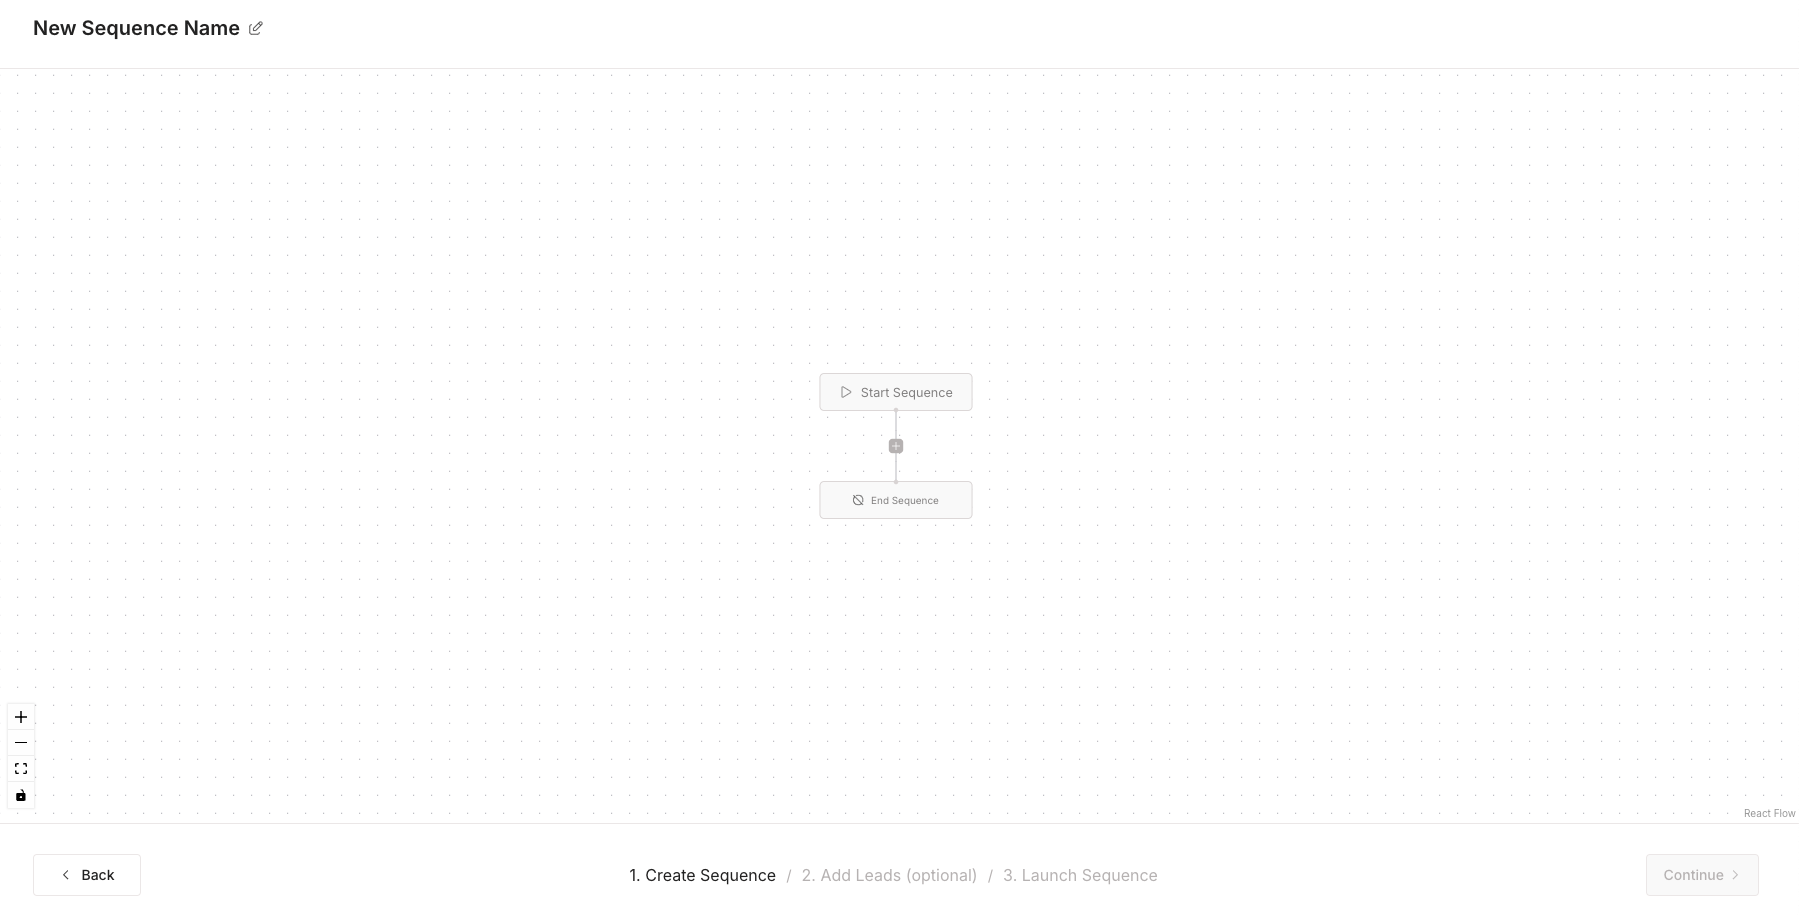
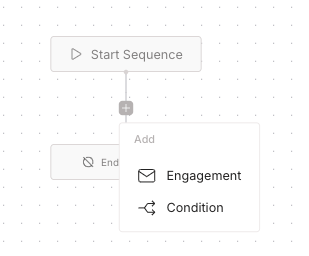
Adding Steps to your Sequence
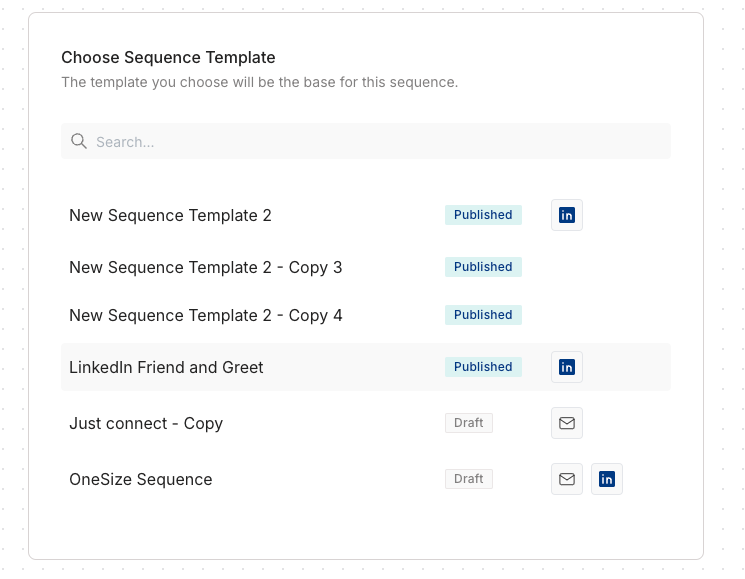
You can add steps to your sequence when you are creating a new sequence or when you are using a sequence template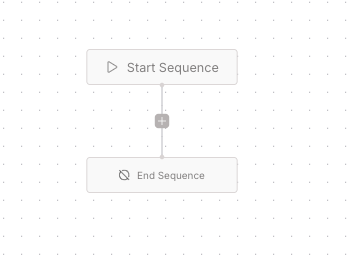
Configure Step
For Engagements: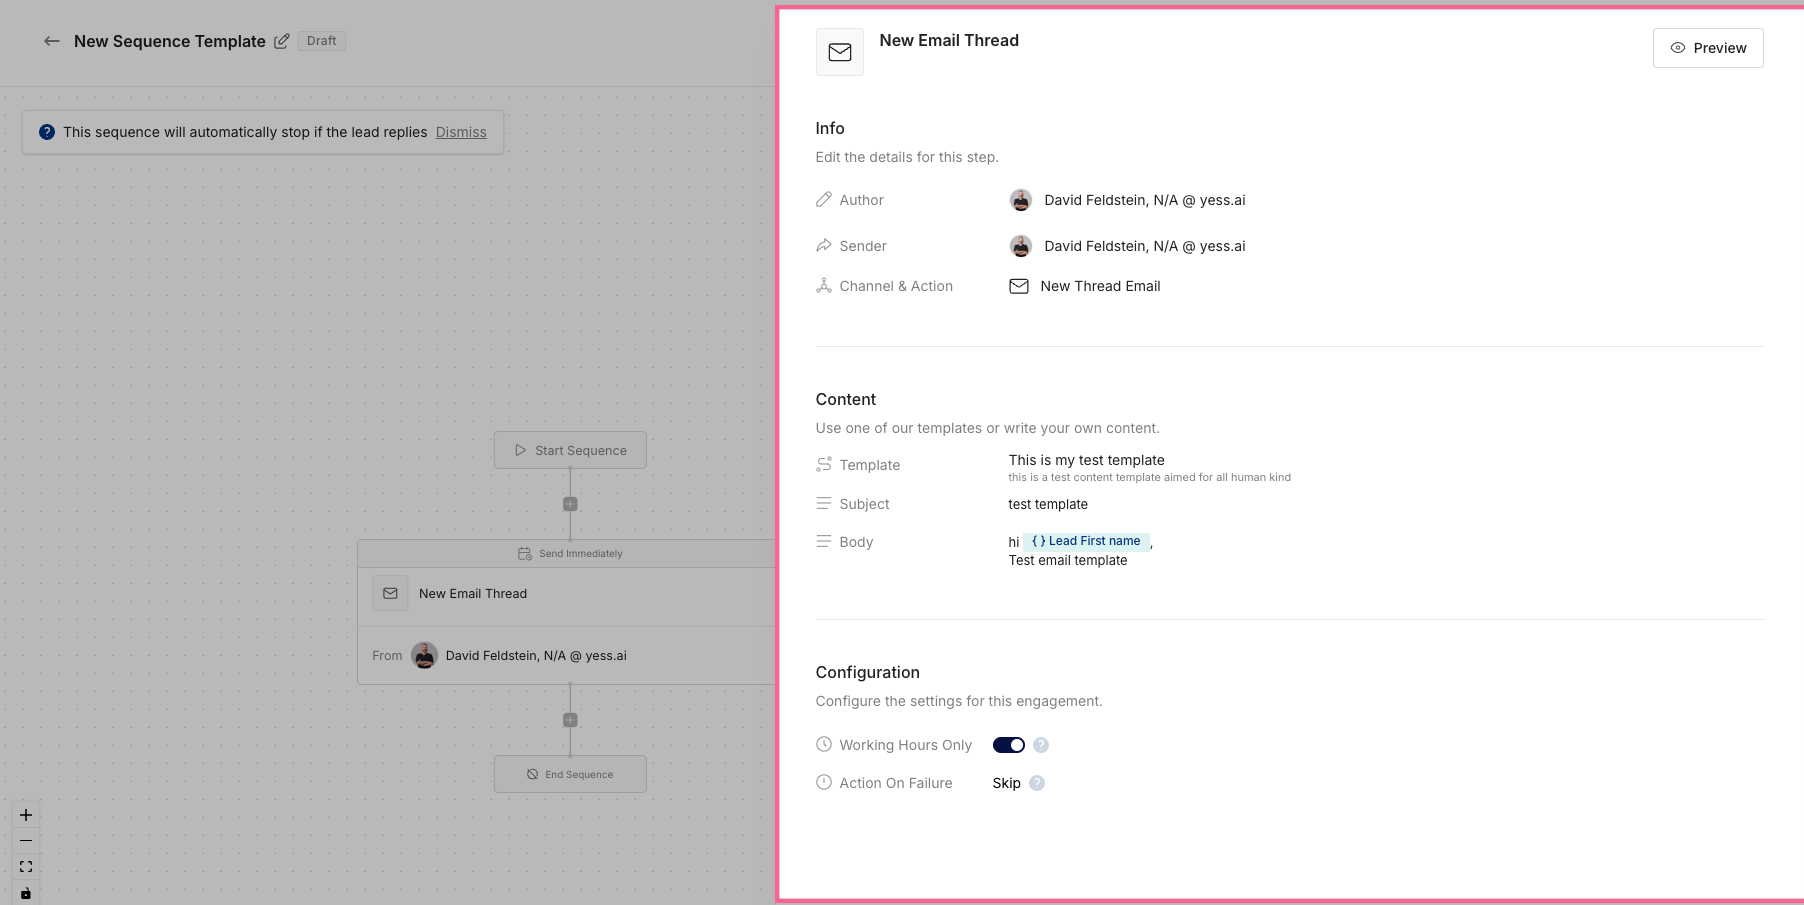
- Click “Click to Edit”
- Info
- Select Sender (The sponsor of the engagement)
- Select channel & Action (LinkedIn Connect, LinkedIn Message, New Thread Email, Follow Up Email)
- Content
- Template (Optional) - If you have a content template saved, you can select it here
- Subject (If you selected New Thread Email)
- Body (If you selected New Thread Email or Linkedin Message)
If you selected LinkedIn Connect, you will not be able to edit the subject or body.In the Body, you can use the Dynamic Variables to personalize the message when writing ’{{’
- Configuration
- Working Hours (Boolean)
- Action on Failure (Retry engagement or Skip engagement)
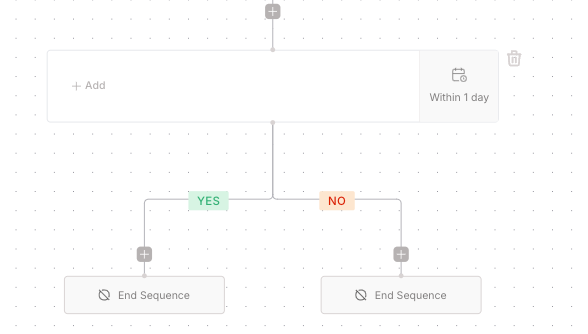
Branching Logic
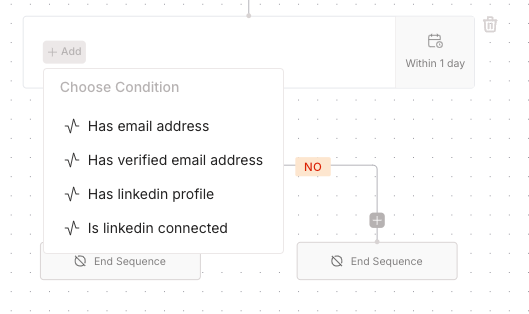
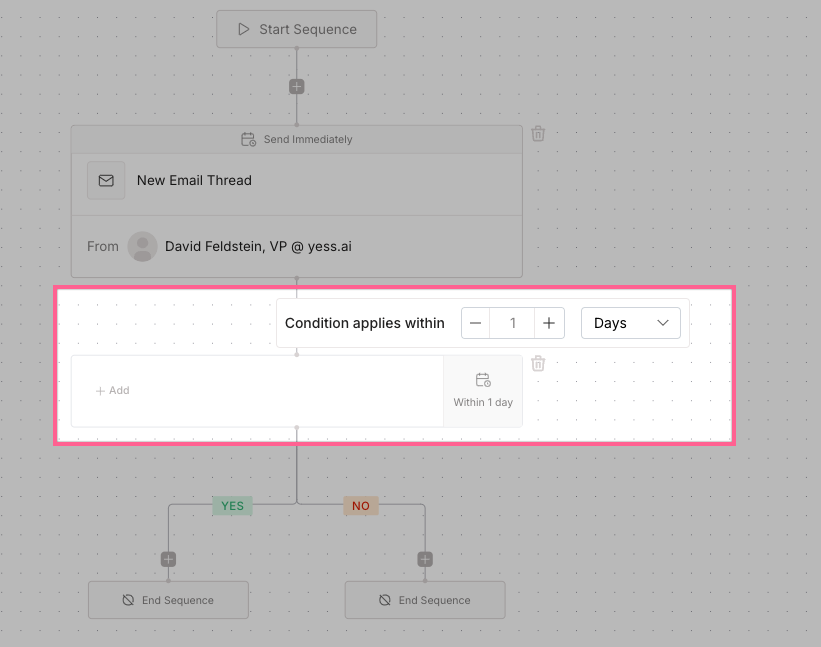
Available conditions:
- Lead has LinkedIn Profile
- Lead has Email
- Lead has Phone Number
- Lead has Title
Finalizing Sequence
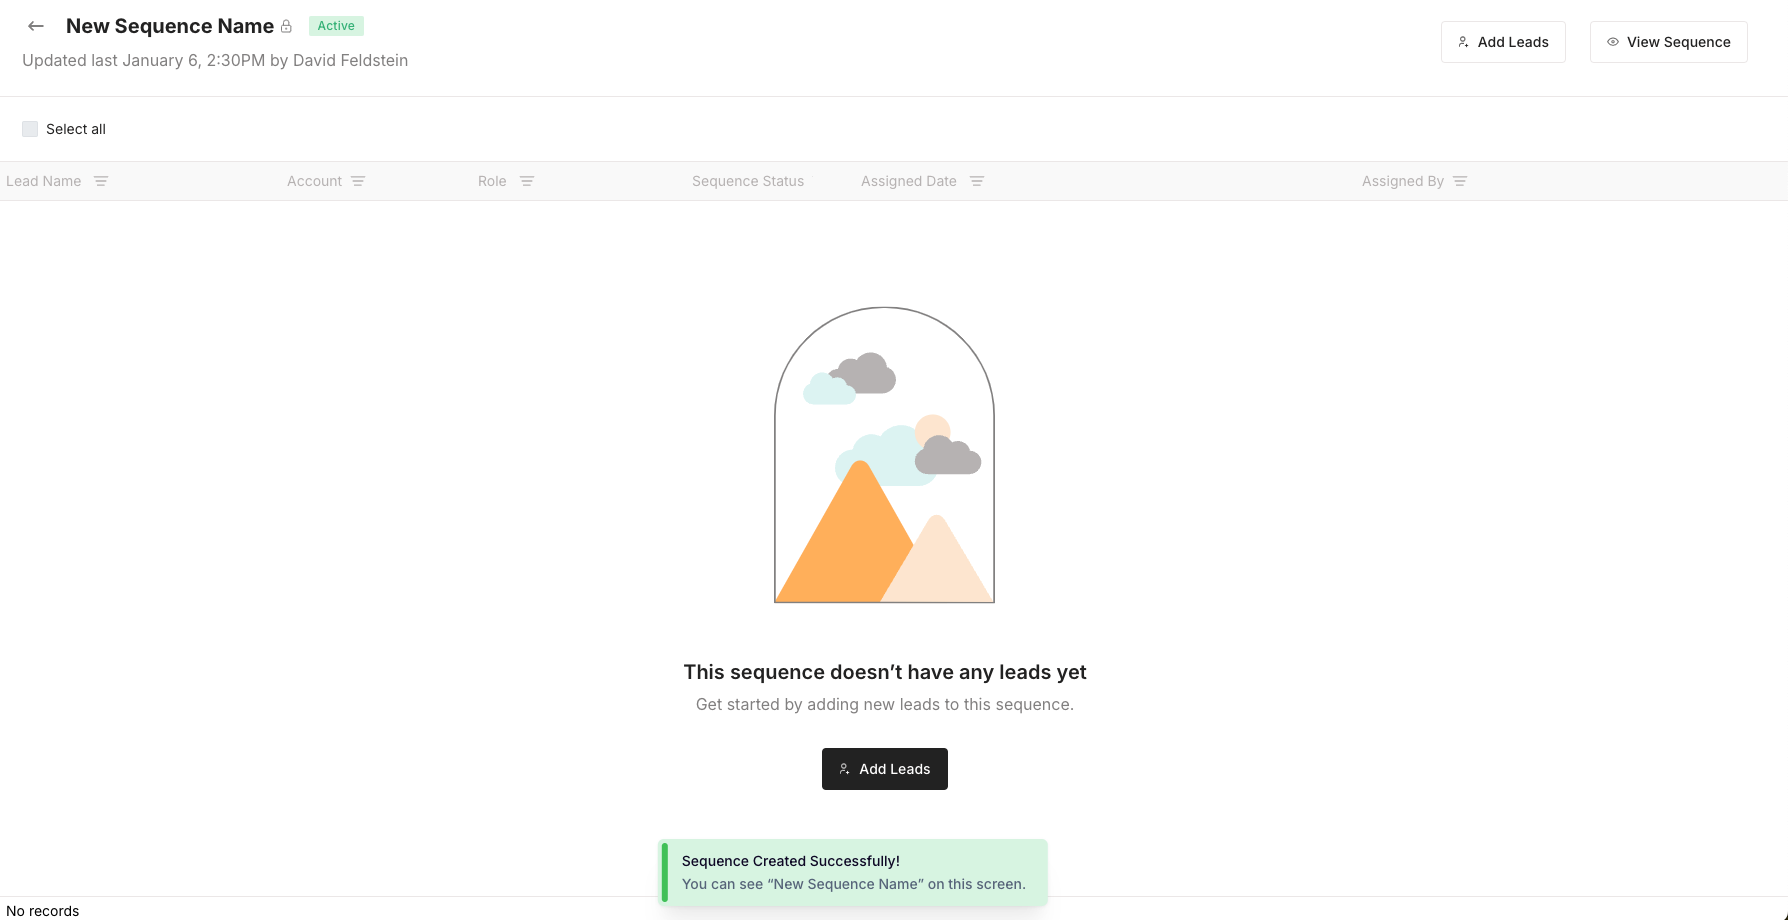
Add leads to your sequence
When clicking next, you will be prompted to add leads to your sequence (it’s optional, can be done later)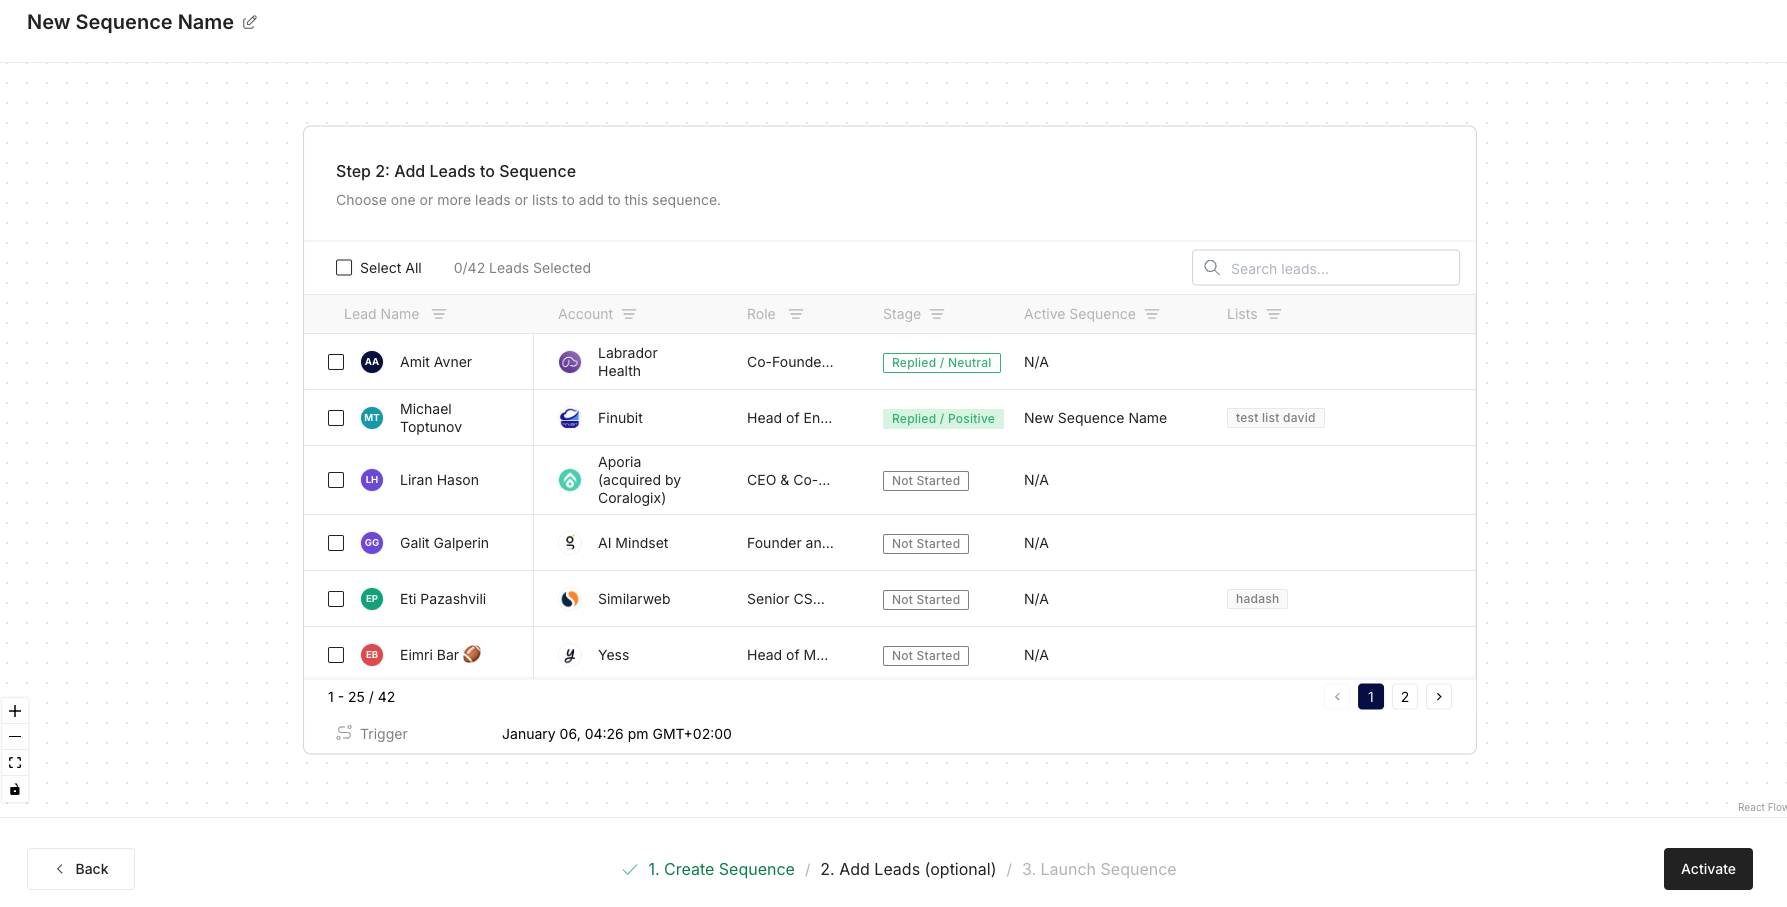
Sequences can be edited at any time, but changes won’t affect steps that are already queued or completed.