These steps require Salesforce (SFDC) administrator access.
Authorize the Yess App
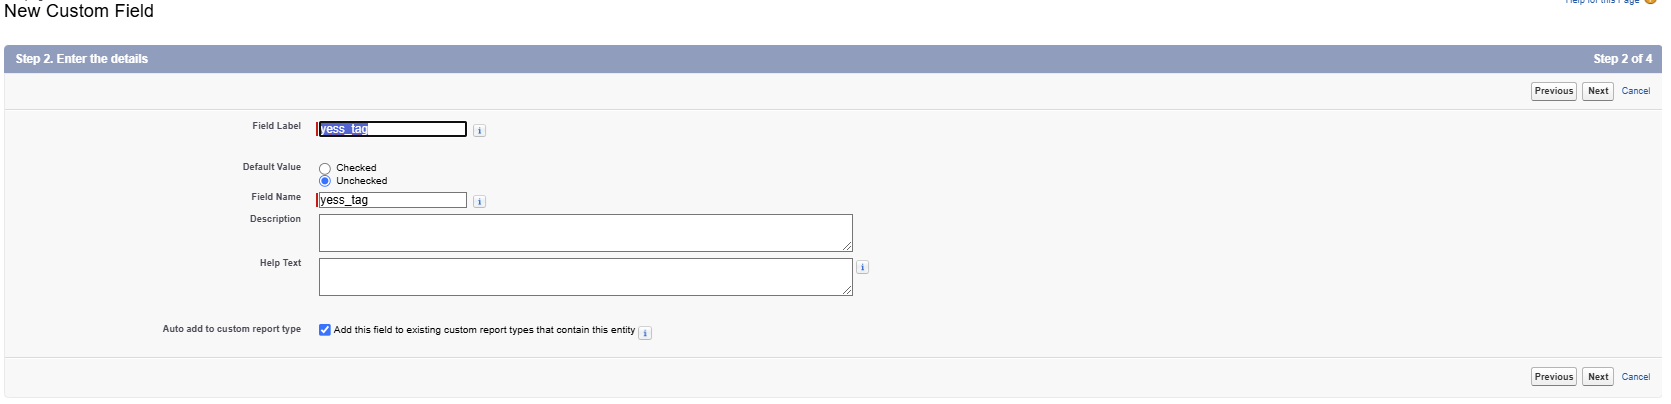
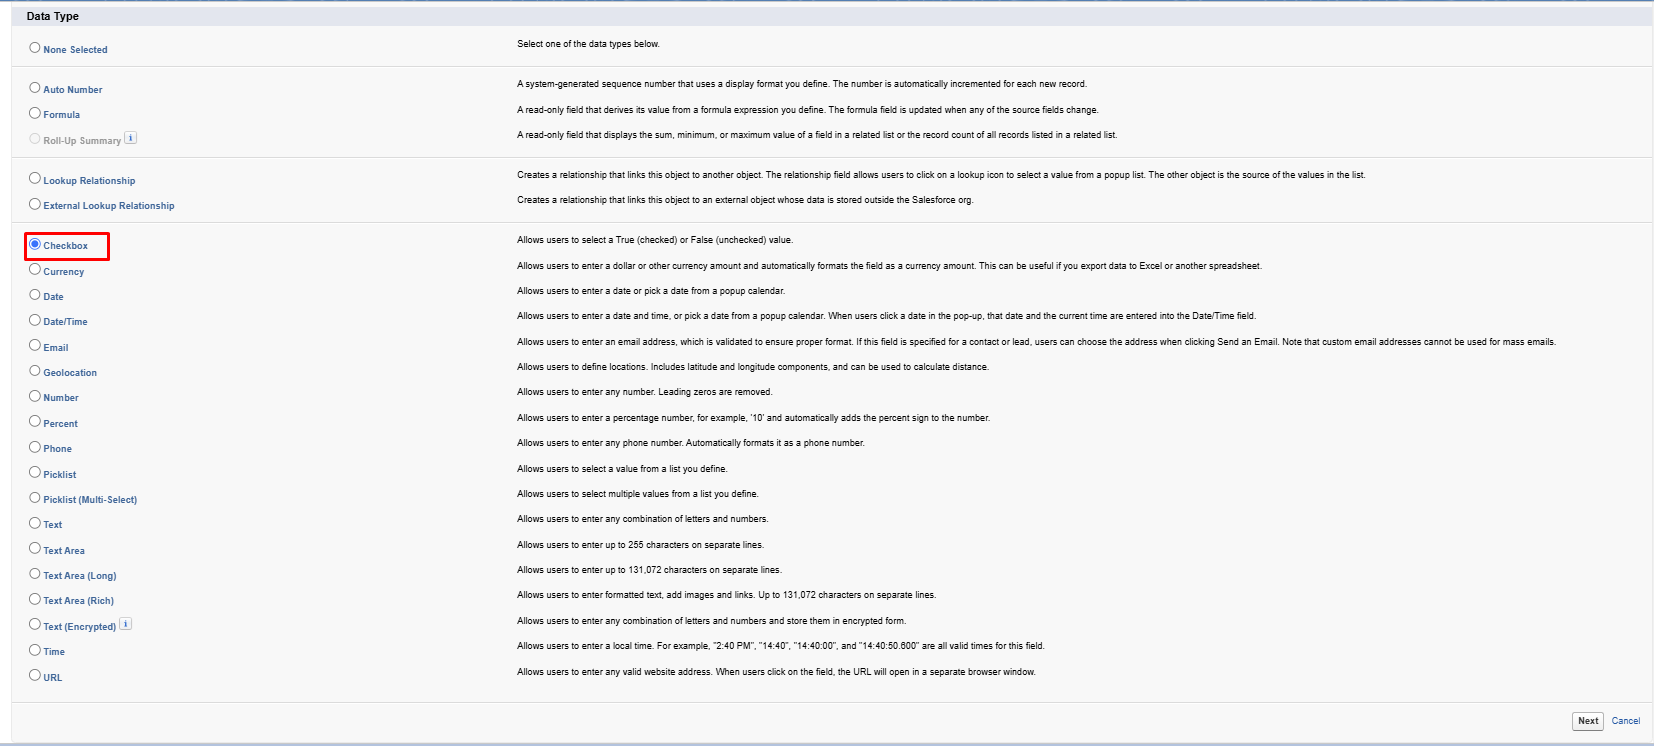
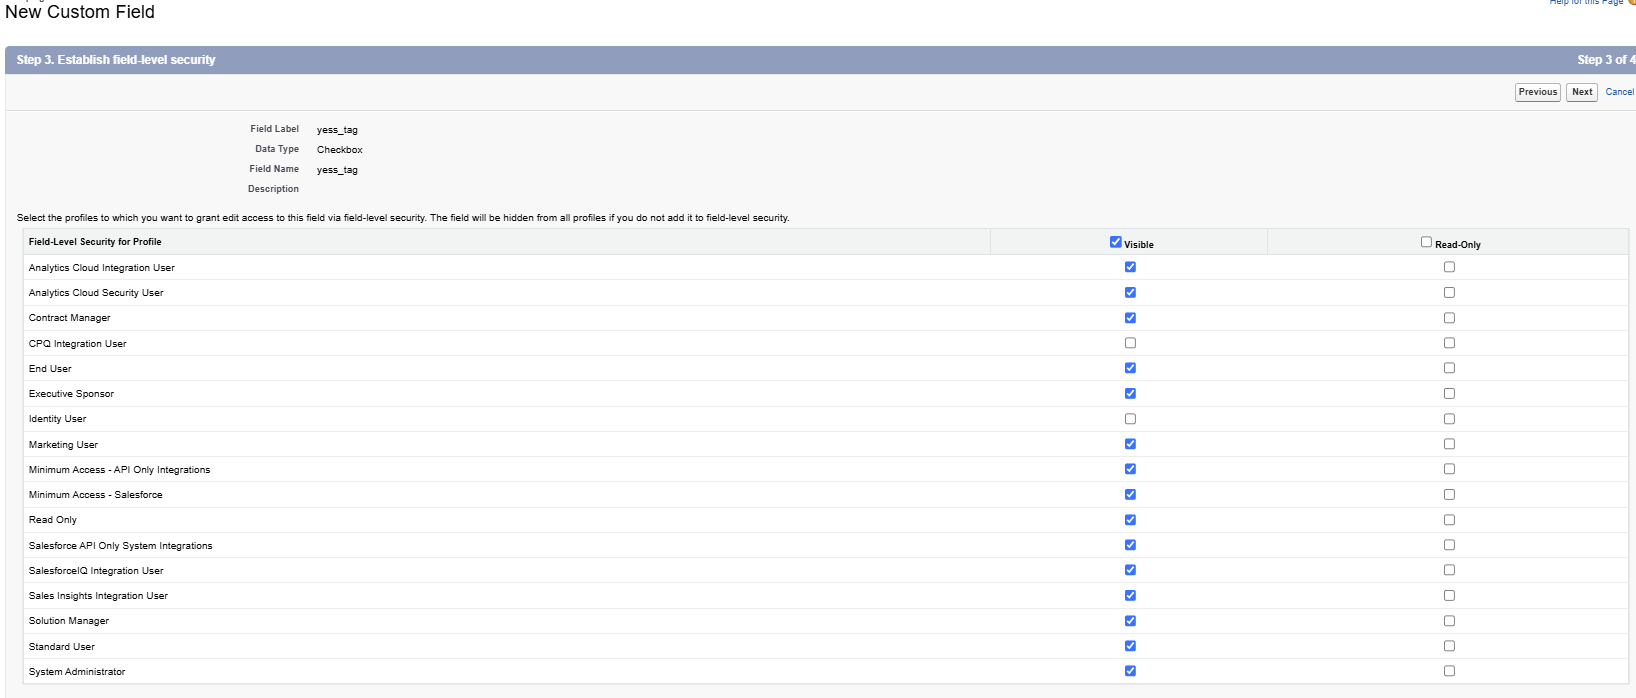
Create a Custom Field
Define Custom Field
Create a Yess Tag on the Contact, and Account Salesforce objects to ensure proper synchronization between Salesforce and Yess.
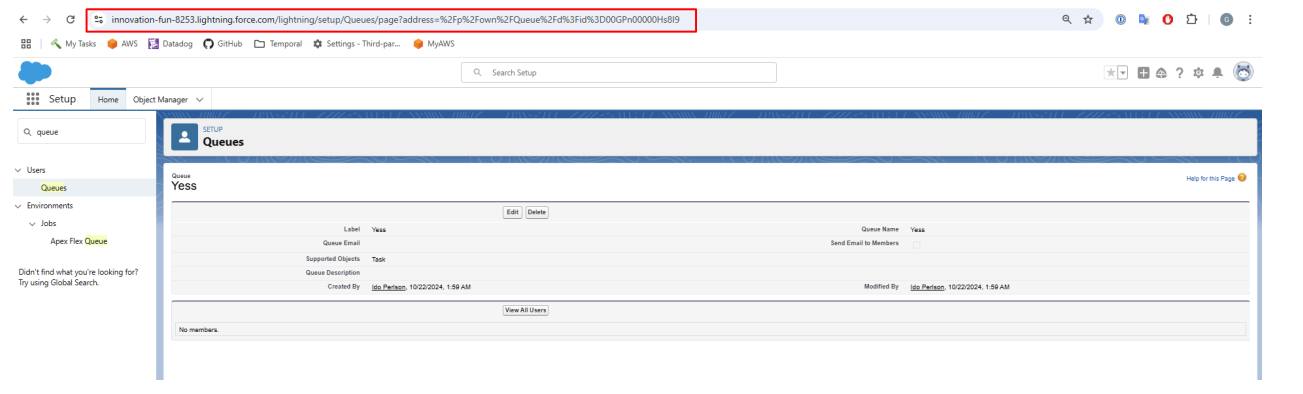
Set Up the Yess Queue
Create Yess Queue
Create a new Salesforce queue named Yess by following this official Salesforce guide:
👉 Salesforce Queue Setup Guide
Retrieve the Yess Queue URL

View Records in Salesforce
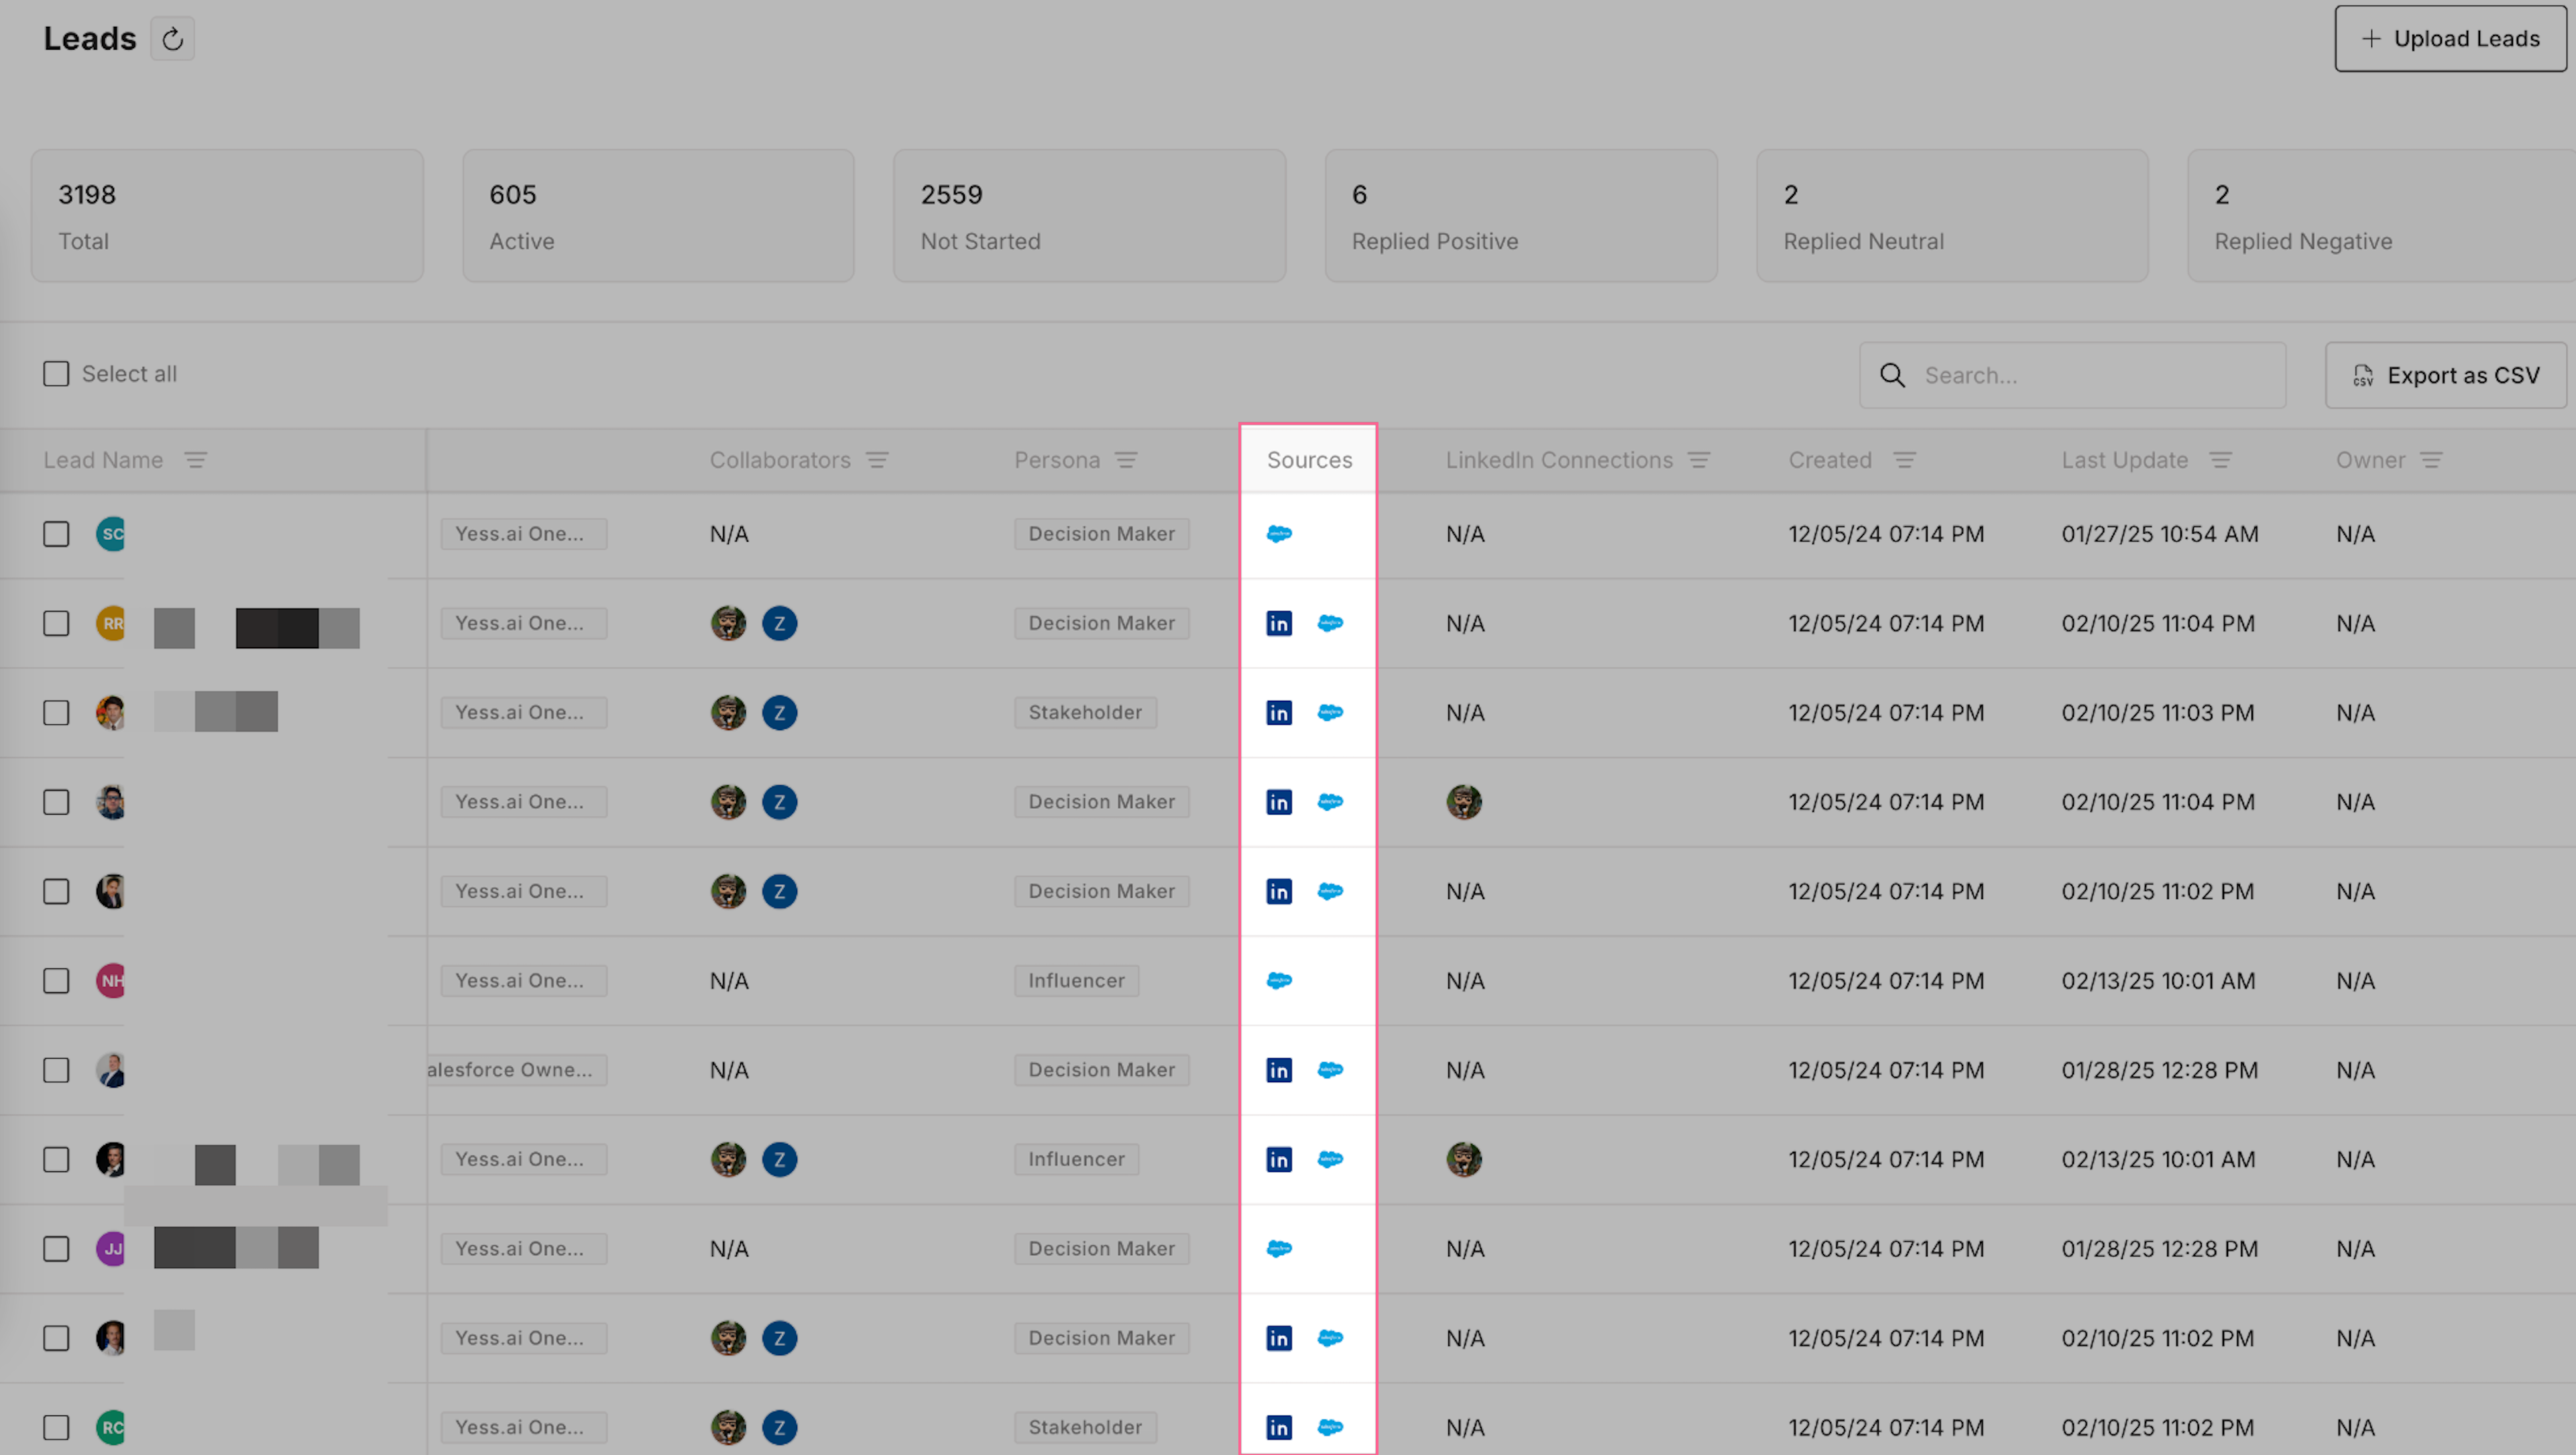
When contacts and accounts are synced between Yess and Salesforce, they are automatically linked using email addresses (for contacts) and domain names (for accounts). This linking enables:- Automatic activity logging
- Pulling Leads and accounts from Salesforce to Yess
- Writing activities to Salesforce from Yess
- Easy navigation between platforms
Viewing Yess Activities in Salesforce
All activities performed in Yess are automatically logged as tasks in Salesforce. To view these: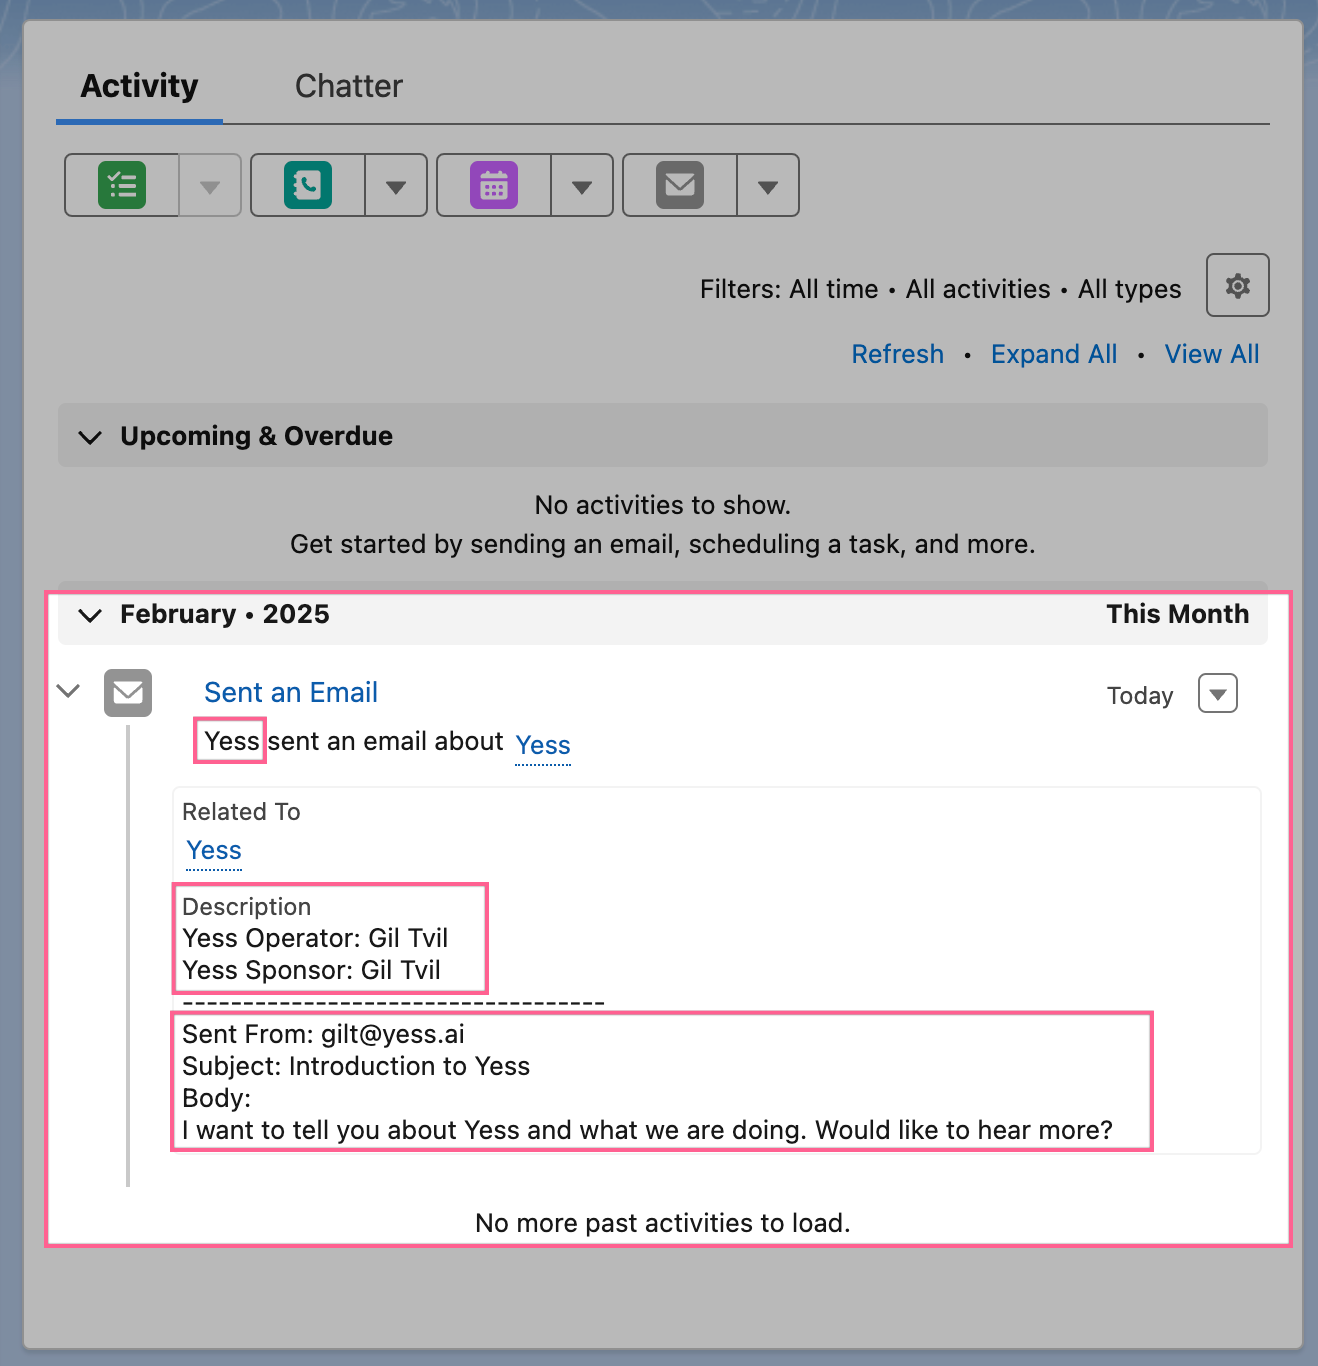
All synced activities will appear in Salesforce with “Yess” as the source, making it easy to track actions taken through our platform.