Overview
Yess integrates with Gmail or Outlook to enable one-off engagements, sequence enrollments, and outbound email campaigns.Gmail Integration
- Navigate to Integrations
- Click on Gmail
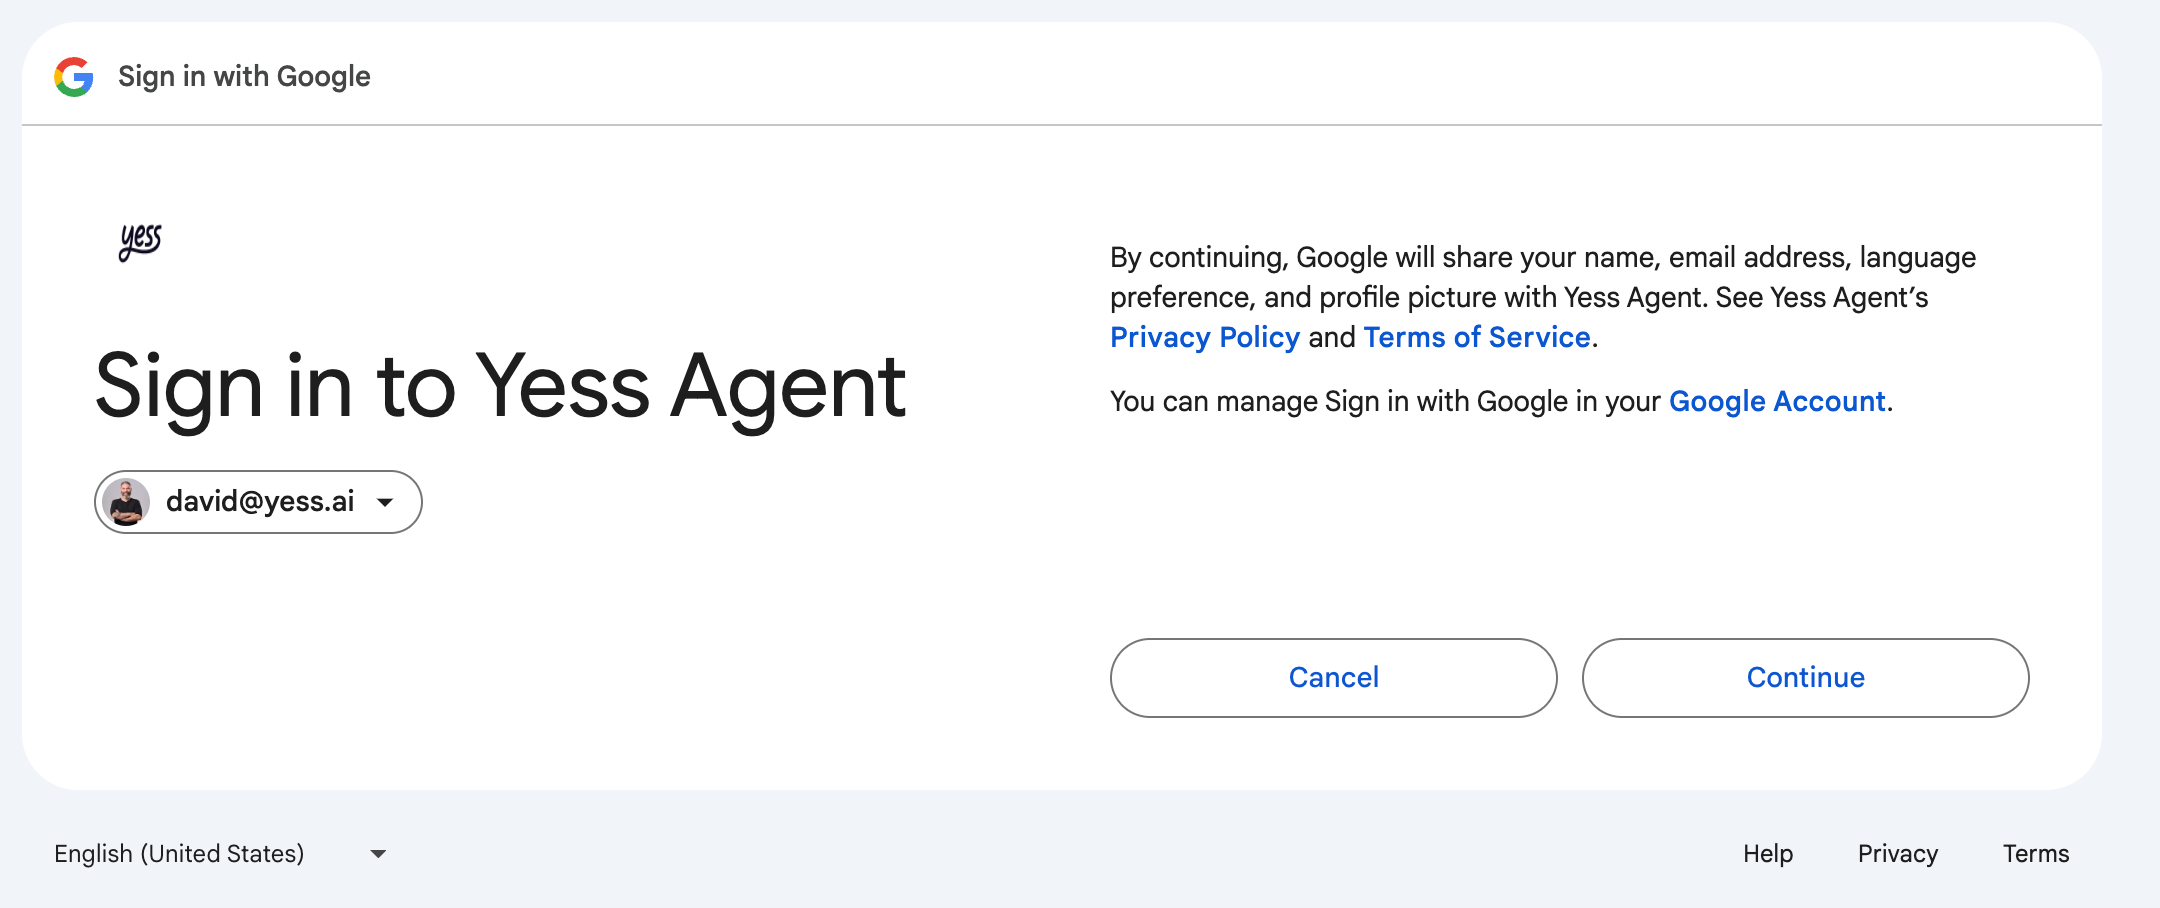
- Select your account and click “Continue”
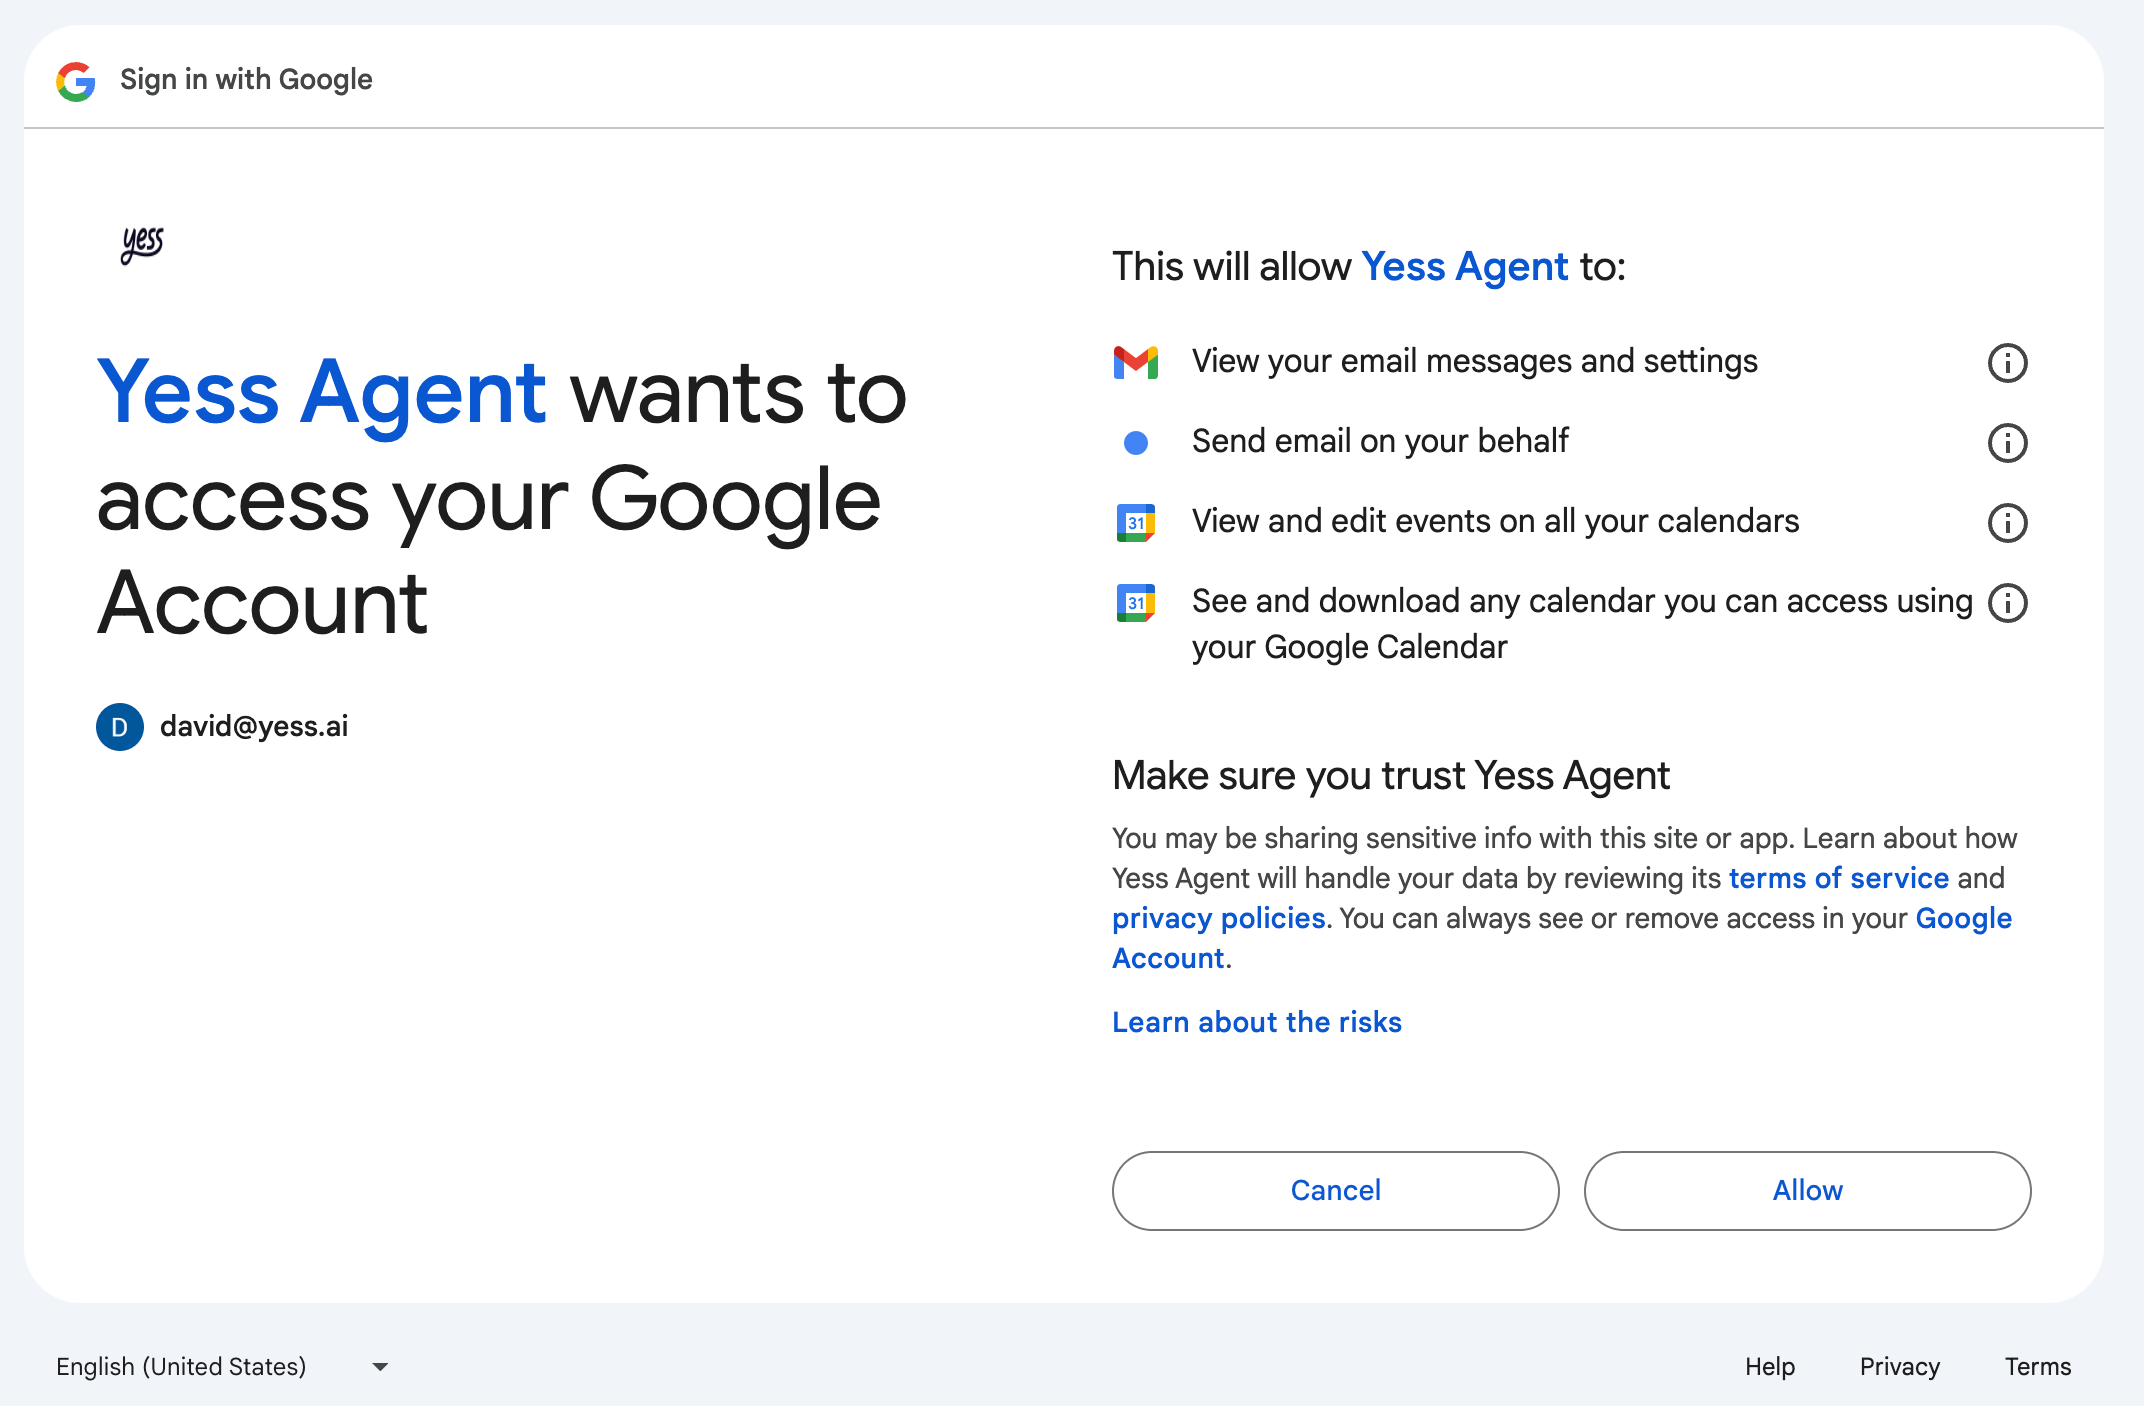
Confirm Integration
You’ll see Gmail is now integrated and ready for configuration
- Signature: Add a signature to your emails
- BCC list: Add a list of emails to send emails to
- Period: Select daily, weekly, or monthly
- Emails Sent: Select the number of emails you want to send per period
- Open rates: Track the open rates of your emails
- Click rates: Track the click rates of your emails
- Stop After: Select the number of days after which you want to stop tracking the thread
Check Confirmation Email
Look for a confirmation email from notifications@yess.ai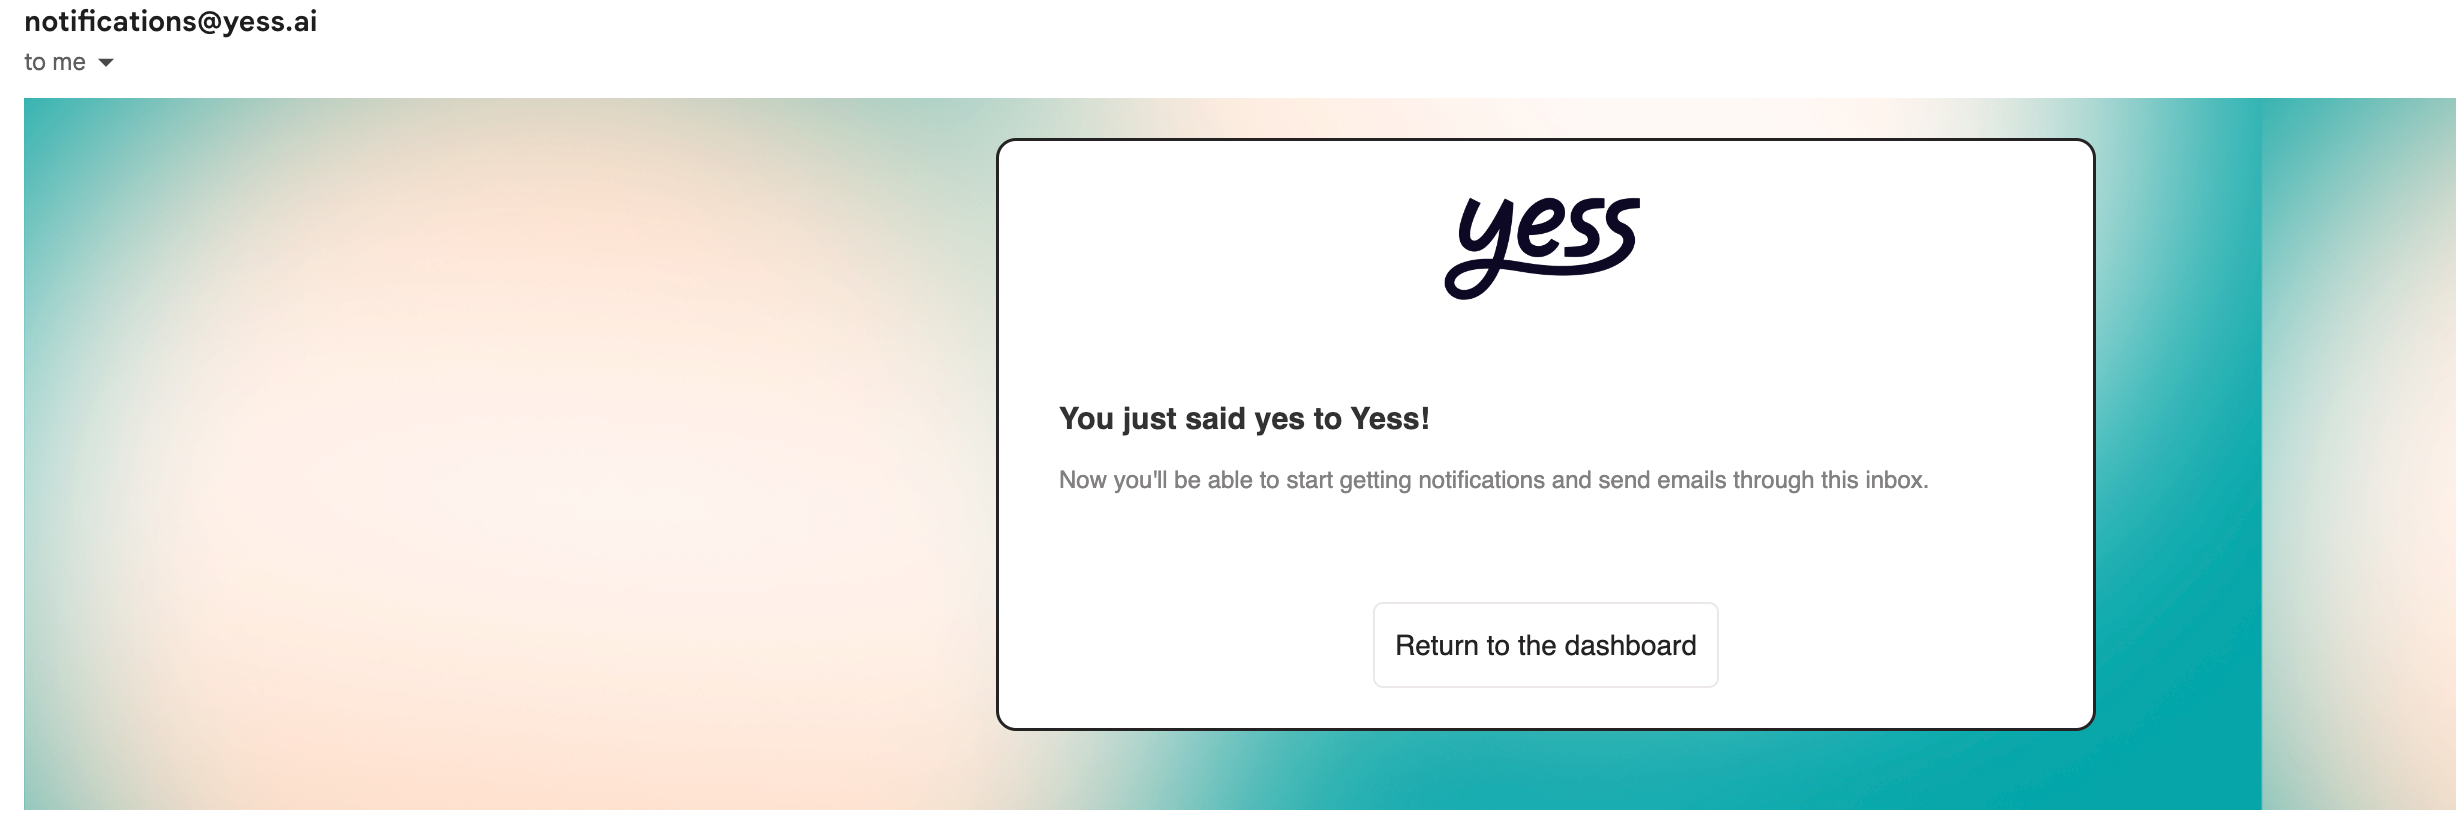
Outlook Integration
- Navigate to Integrations
- Click on Outlook
- Select your account
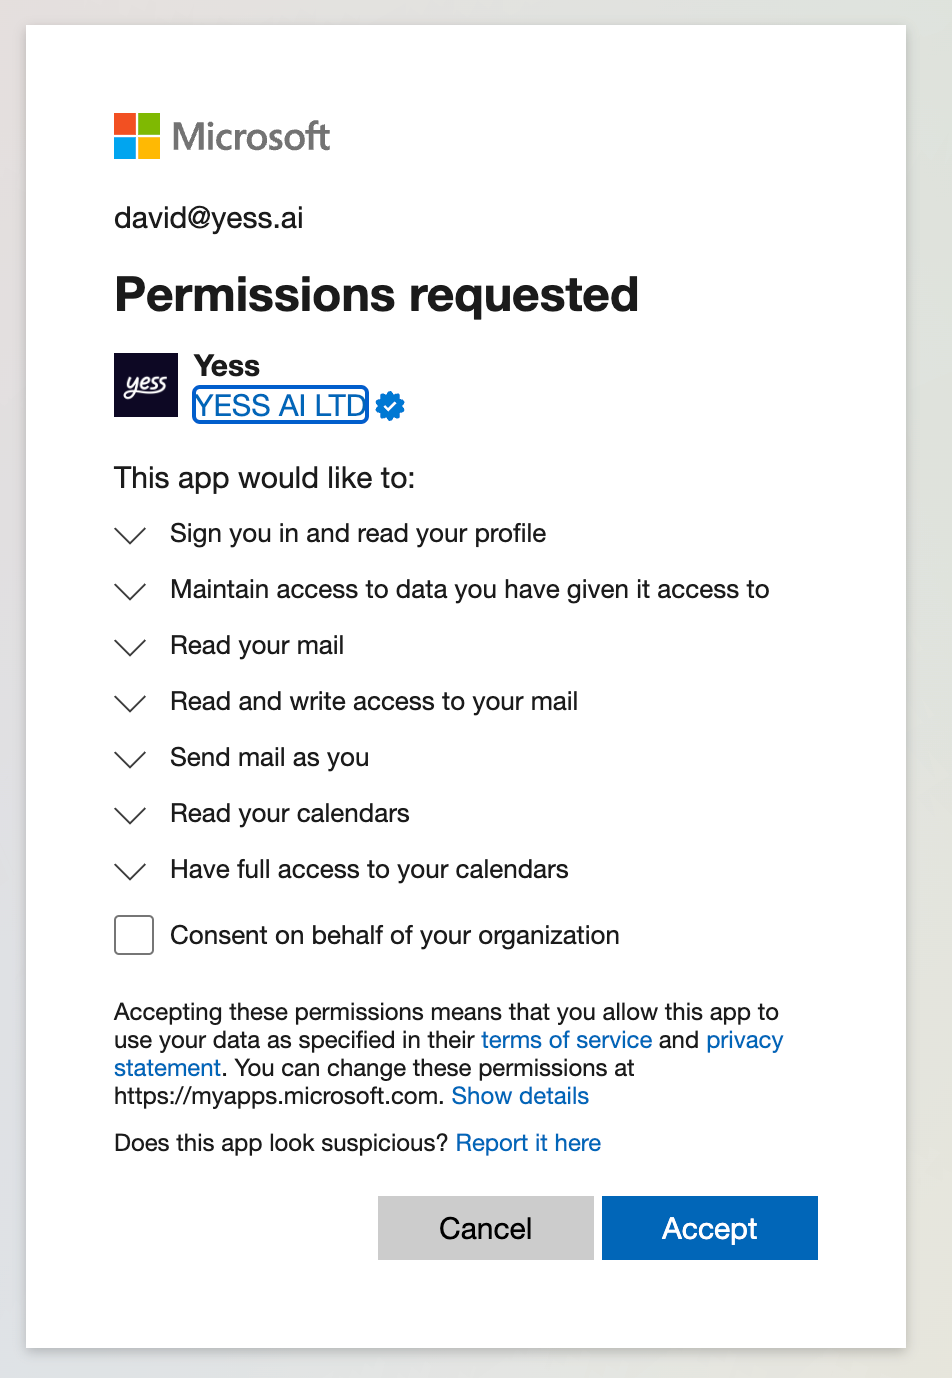
Confirm Integration
You’ll see Outlook is now integrated and ready for configuration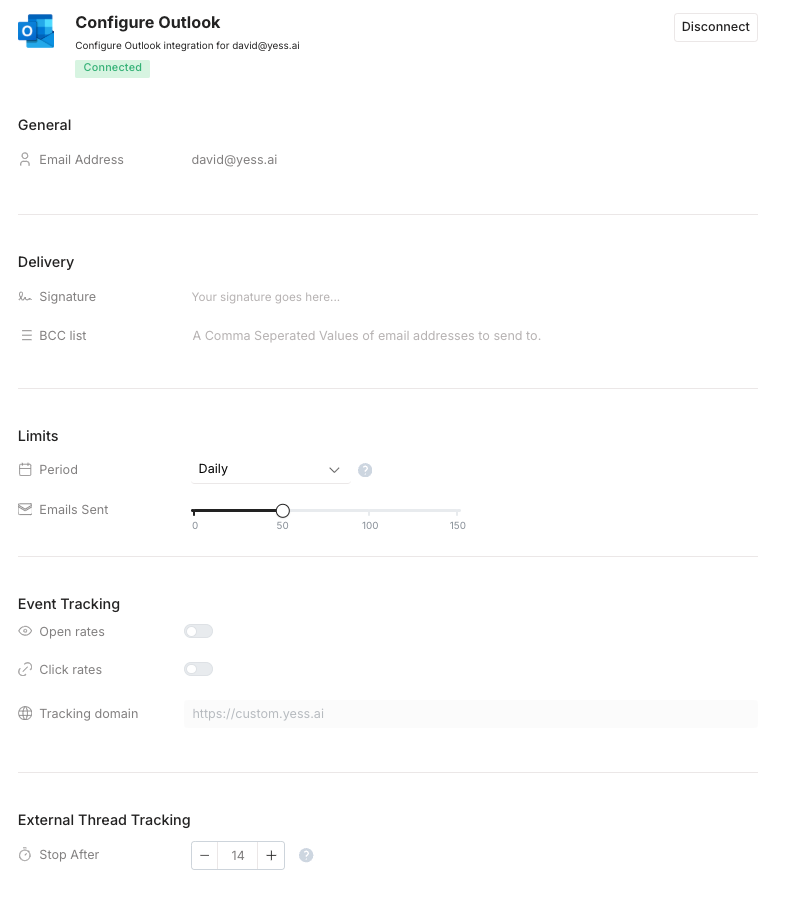
- Signature: Add a signature to your emails
- BCC list: Add a list of emails to send emails to
- Period: Select daily, weekly, or monthly
- Emails Sent: Select the number of emails you want to send per period
- Open rates: Track the open rates of your emails
- Click rates: Track the click rates of your emails
- Stop After: Select the number of days after which you want to stop tracking the thread
Check Confirmation Email
Look for a confirmation email from notifications@yess.ai